Each computer has a different BIOS interface because they have a different motherboard when built. With the content after editing in the BIOS, it can be applied immediately after booting the operating system.

The main contents are presented in the article to set basic parameters for the computer
– Access to the BIOS interface
– Perform basic settings in BIOS
+ Set the time
+ Set up information for the drive
+ Set up the general configuration of the machine
+ Set up password protection computer
+ Reset system defaults
+ Save value after setup
- Access in the BIOS interface
This setup will make your computer more efficient when operating. To access BIOS Setup , it depends on the type of motherboard you are using, but mainly and most desktop machines use the Delete key (DEL). For Laptop, use ESC, F1, F2, F10, F12, in addition, you can use Ctrl + ESC, Ctrl + Alt + ESC, Alt + ESC, Ins or when starting the computer you can choose to press the key on BIOS Setup:
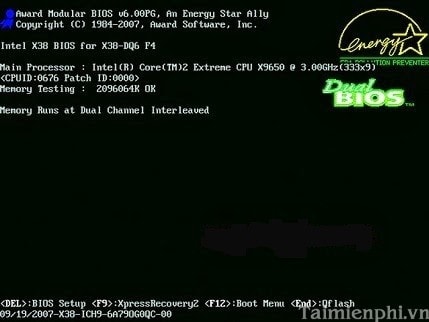
Then the BIOS interface appears with Tabs and System Menu appears with functions for you to set up.
- Proceed with basic setup in BIOS
1. Set the time
From the interface in the BIOS, you can go to the first Main Tab to edit this information with System Time: to set hours-minutes-seconds for the system and with System Date: to set the day-month-year for the system.
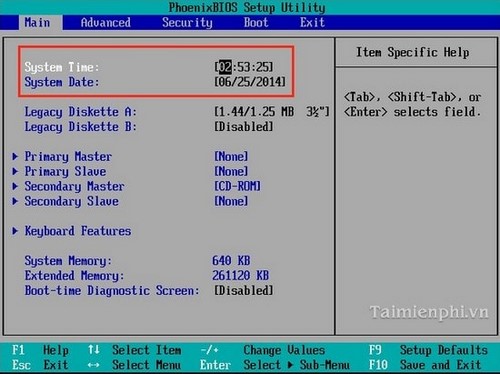
With these settings, the system updates the time more accurately and you enter this information in order from left to right or use the arrow keys to move to the position to change.
2. Set up information for the drive.
To set values for the drive, usually these values are usually automatic, customizable of the system, but for some reason you want the drive of the machine to work as you want to meet your needs.
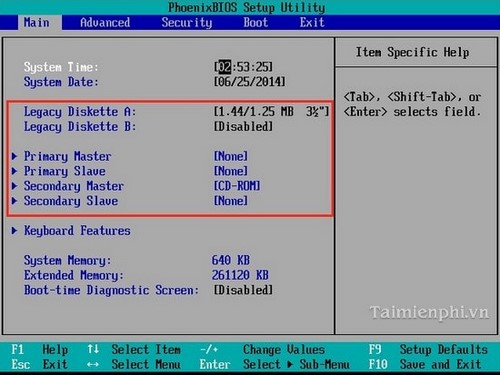
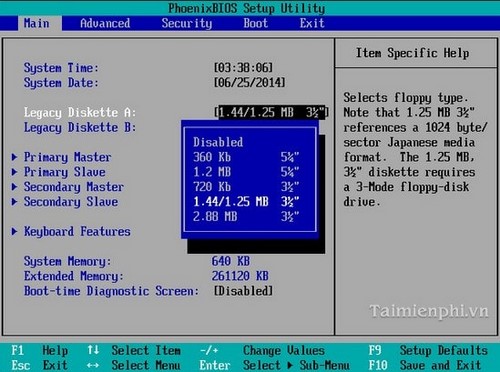
To change the rotation frequency of a drive you select –> select the rotation value for the drive, press Enter to accept, if you do not want to make the change after showing the interface, press ESC to go back.
-Auto: The BIOS automatically finds and checks to set parameters for the drive at startup.
– None: The BIOS will skip no checking, so it will reduce boot time. This is also a way to lock, not allowing the use of a certain drive.
-Manual: The user himself sets the parameters for the drive.
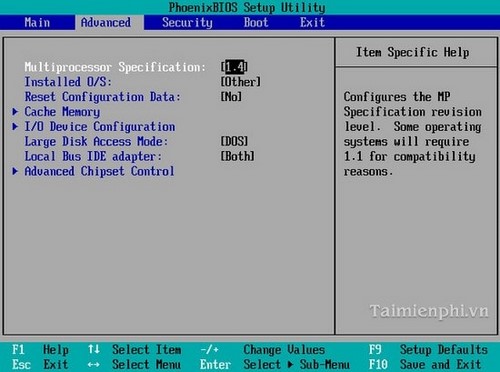
3. Set up the general configuration of the machine
In the Advanced Tab are 8 configuration settings items such as data configuration settings, memory caching mode, input and output mode…. You use the up – down arrow keys to move to the items that need to be changed, press Enter to accept, and press Esc to exit the current table
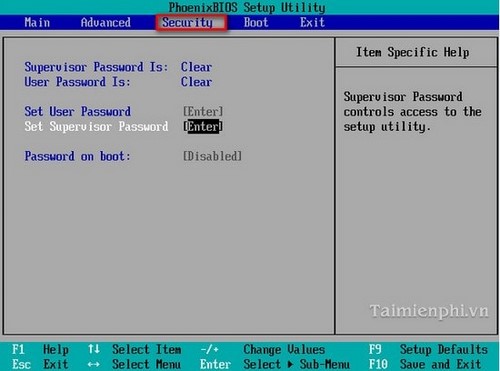
4. Set up password protection for your computer
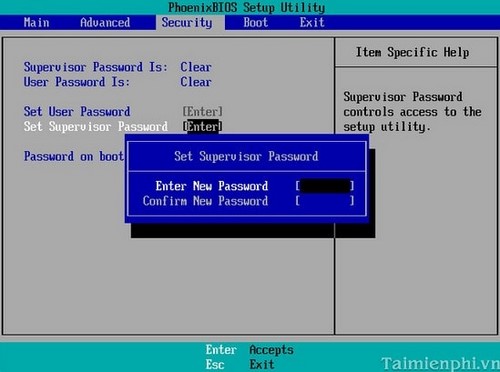
In addition to setting a password for the operating system, you can set a password for your computer right from startup to avoid unauthorized intrusion by others if you do not want to. If you want to set a password for the machine from the BIOS, go to the Security Tab and select Set Supervisor Password or select the Set User Password user password.
You use the Enter key to display the dialog box and accept or press Esc to exit the current table
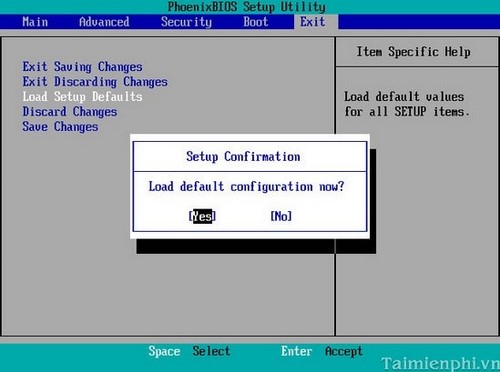
5. Reset system defaults
After setting the value for the whole system, if you are unsure that you have difficulty reopening the operating system, you can go to the Exit Tab to perform a reload of the original value using the function in the Load Setup Defaults section.
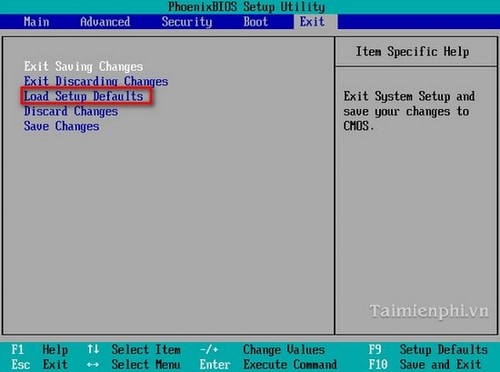
After you want to reload, the system BIOS will have a message confirming this. You use the press Enter key to accept or press Esc to exit the current table.
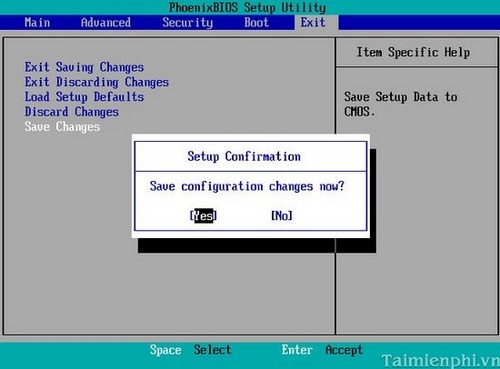
6. Save the value after setting
After setting up one or more information, go to the Exit Tab, select Save Changes to save the value.
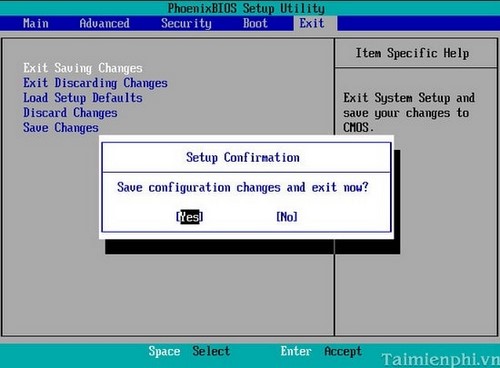
Alternatively, you can use the ExitSave Changes section to save the value and exit completely.
https://thuthuat.taimienphi.vn/thiet-lap-cac-thong-so-co-ban-cho-may-tinh-1951n.aspx
Above are the operations to set the value in the BIOS system that you can apply in practice in the computer system to make the system more efficient. Alternatively, you can: